
Our First “special needs” pet was our Kitty, Chloe. At 10 years old she started throwing up multiple times a day. She was still eating and drinking normally but the amount of cat puke was ridiculous. I figured, Cat’s throw up hairballs, and that’s “normal”, right? So we didn’t give it too much thought, although it was a daily occurrence and we had to spring for a carpet cleaner to take care of the ever-growing stains throughout the house.
Should have been a red-flag, but ignorance is bliss…right? It’s not as if we didn’t try to address the problem, though. We did try a couple different dry foods, we tried wet food only, and used Dr.Google to try and find some other suggestions. Nothing seemed to really “fix” the problem, and we eventually gave in to putting up with the puking.
Fast-forward to about 2 years ago – we’d recently moved to the mountains and a vet-change was in order. We had liked our old vet, but wanted a local vet. We looked for recommendations from neighbors and eventually tried out one close to home. This particular vet didn’t offer many suggestions when we brought our kitty in for throwing-up issues. They suggested a daily pill (of which was $1 per day), but that didn’t do much to change the puking issue. I asked about dietary options, but wasn’t given much feedback, and left feeling pretty defeated. I was sure there was some way out there to make Chloe’s life, and ours, easier.
Luckily, I found a Vet focused on Holistic treatments in addition to standard Vet practices. My first appointment was enlightening. I left feeling like there was hope for our poor kitty.
Enter Home-Made food! Out Vet has written articles about home-made and vegan based diets for pets. (Original post here) It seemed like such an easy answer. Less processed items, more veggies, natural proteins, and no/limited meat – which I found out can be very hard for kitties with intestinal issues to digest. Why not give it a try?! What could it hurt?!
So onward I delved into making home-made food for the Chloe and her brother, too. He wasn’t showing any signs of issues, but it sure didn’t hurt to feed him the same diet and it kept Chloe from sneaking her “old” food. We also decided to do a supplemented diet, with wet food being added to the home-made so that we were sure both kitties would be getting the vitamins & minerals that are added to commercial pet food. Our vet believes in the healing abilities of a vegan diet, but it is also important that our pets get all the nutritional value they require – and the easiest way to do that is by supplementing with a commercial food of some type. Since Chloe seemed to be specifically sensitive to dry food, we chose to add some canned wet food to the home-made for these vitamins.
If you’re worried about jumping into home-made pet food, let me put your mind at ease. This method is really easy, quick and uses items that you likely have in your house already. There’s so many options for ingredients that you likely could make up a batch with what you already have in your pantry. In our case, I make 1 batch of food for the kitties once every 8-10 days. Total cook & prep time is about 30 minutes, then I put it in a Tupperware and keep it in the fridge. Our kitties get 1 large scoop of home-made food, and 1 small scoop of wet canned food mixed together, twice a day.
Kitties Favorite Meal
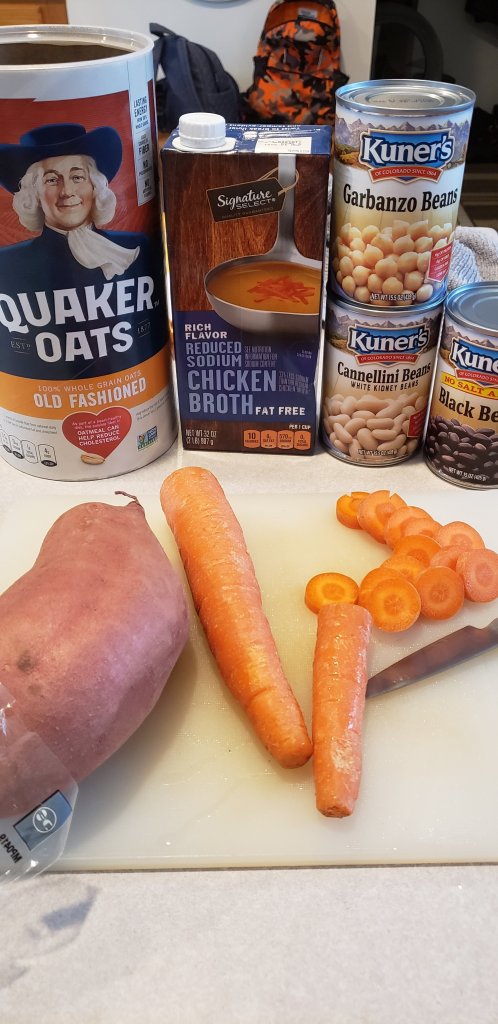
Ingredients:
- 2 large Sweet potatoes, peeled and cubed
- 1 box chicken or veggie stock (4 cups)
- 3 cans garbanzo beans, drained & rinsed
- 1 1/3 cup dry Polenta
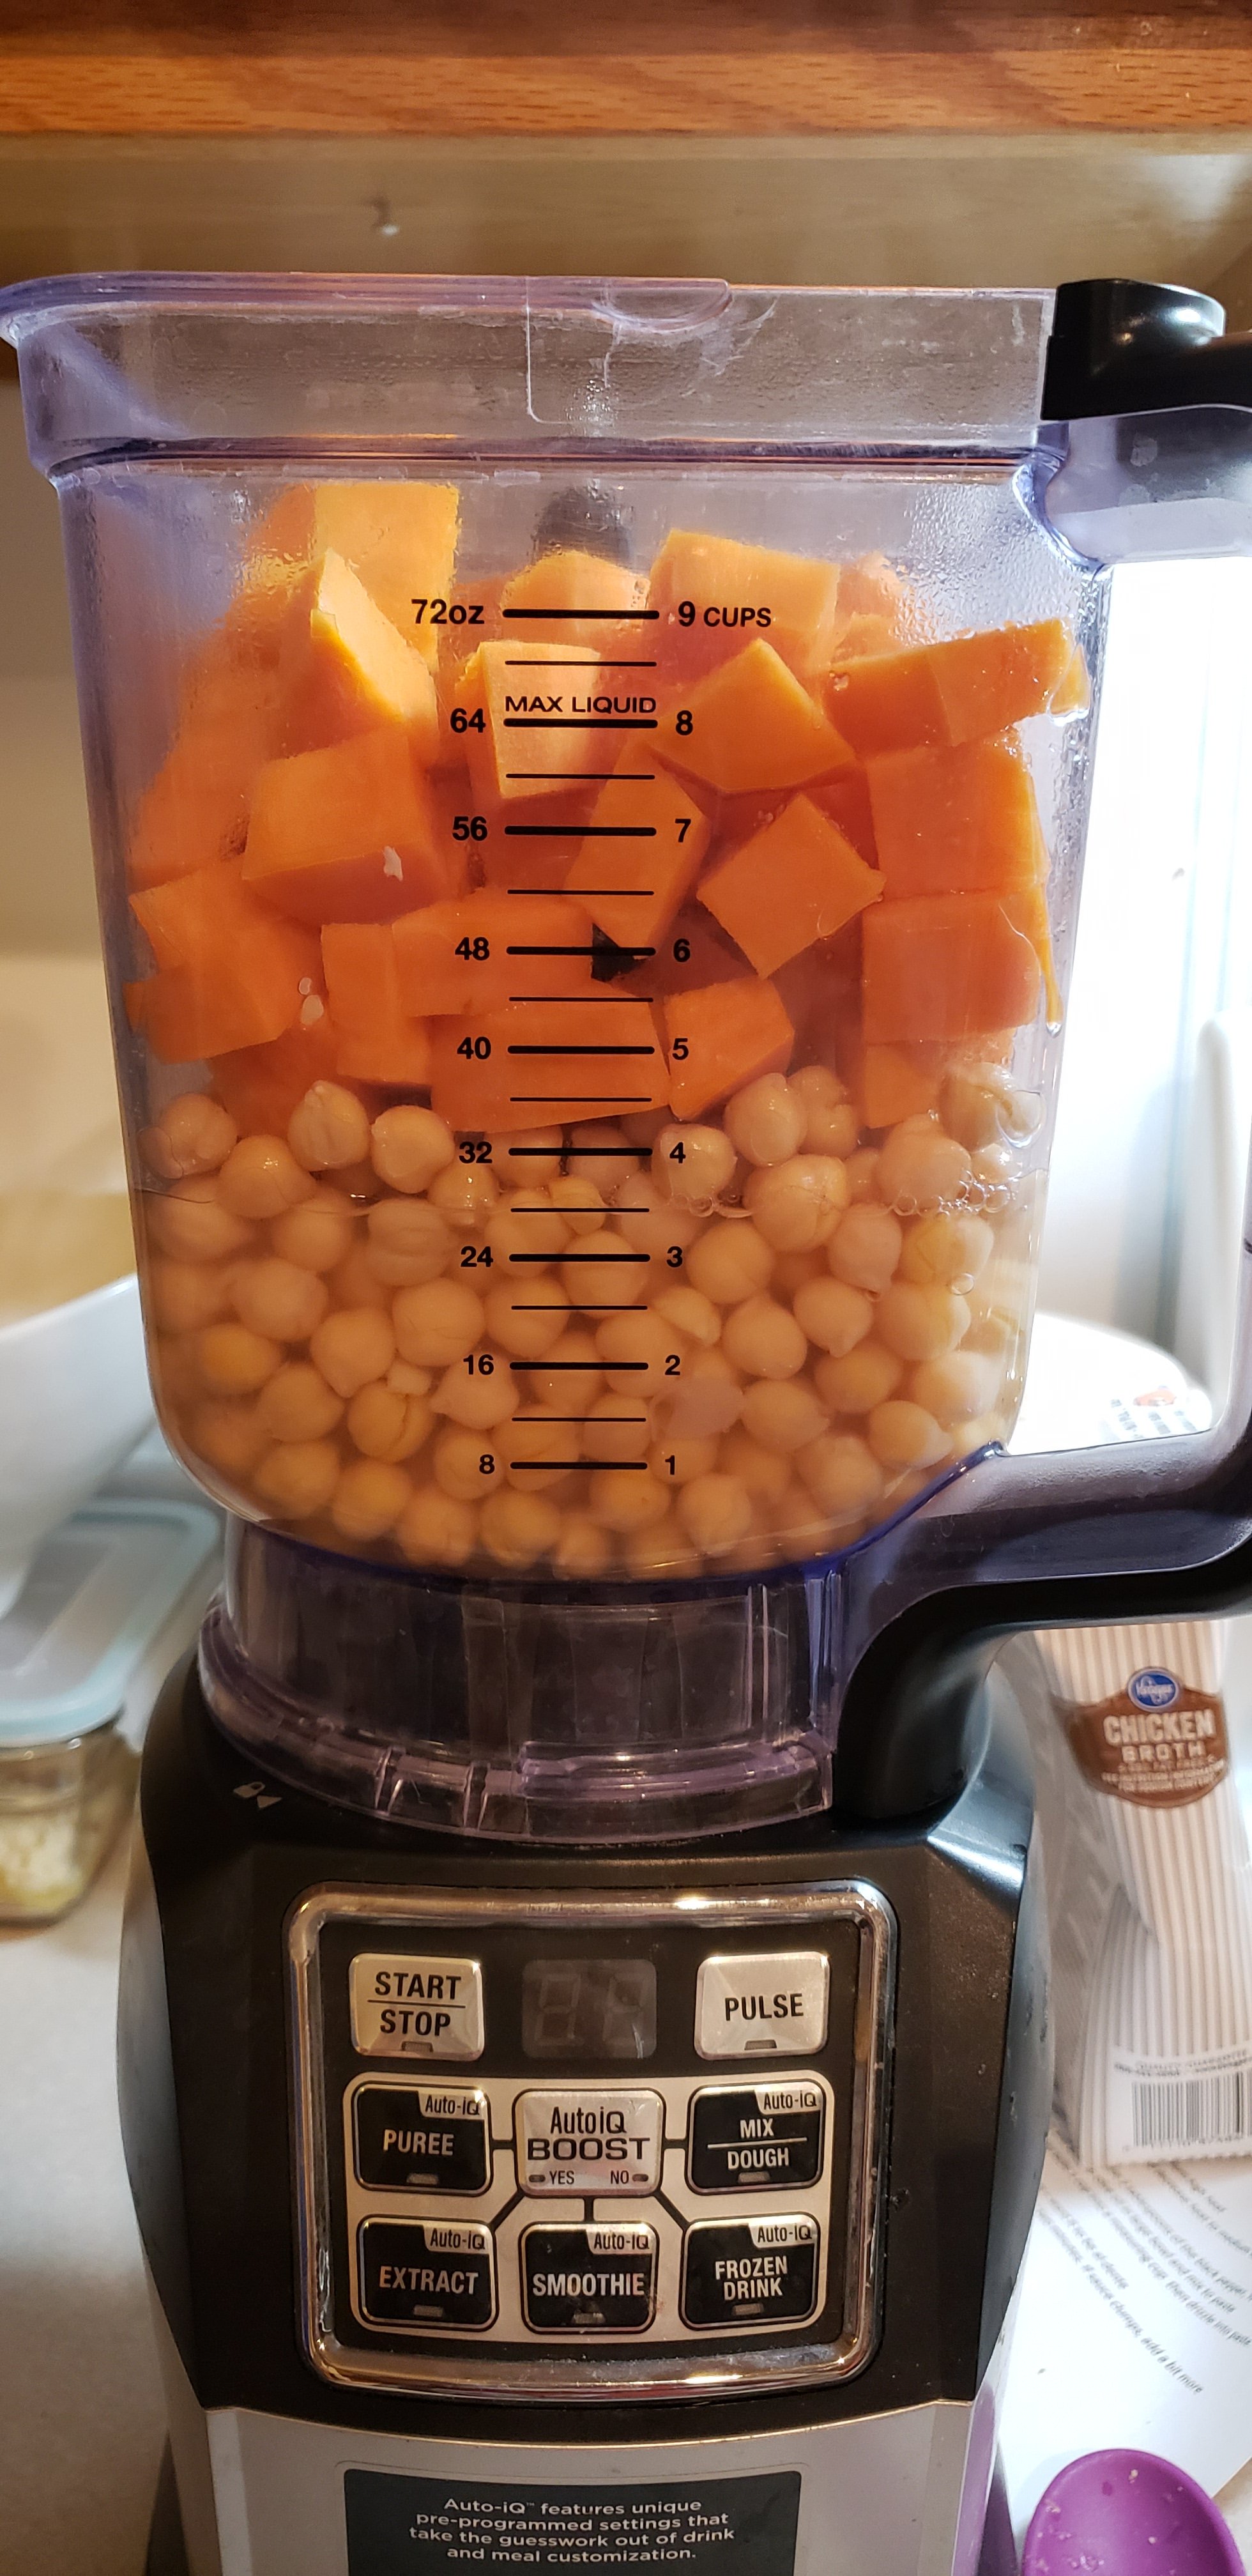
Directions:


2. & 3.


4.


5. Allow to cool, then store in containers in the fridge for about a week. You may choose to add water to the mixture throughout the week as the liquid content will decrease as the polenta continues to absorb liquids in the fridge. We do this to increase the amount of liquid in Chloe’s diet as well, just to make sure she’s staying hydrated.
Easy, right?! And the combinations are endless. We found that our kitties prefer a blended combination, as opposed to larger chunks. Some pets may enjoy more of a “dog food” style as mentioned in my previous post with chunkier ingredients. Our kitties also prefer Polenta as opposed to oatmeal or quinoa, and they like sweet potato over peas or carrots. The beans used don’t seem to make much of a difference, although the light colored ones do make for a more pleasant appearance in the container. But really, the sky is the limit for options and combinations. If you start out with a few smaller batches – think 1 can of beans and reduce the rest to match – you’ll find your pets preferences pretty quickly.
Happy pet food making 🎉