Chilly day, chili dinner

In the last 48 hours its snowed about a jillion feet at our house. Ok, maybe not a jillion but nearly 3 feet, and its safe to say our backyard, which is north facing, wont be seeing dry land until sometime in June.

One of my favorite meals for a chilly day is Chili. Easy to make, you could put it in the croc-pot, or cook it on the stove and have it ready in 30 min if needed. I do prefer to cook it for at least an hour when possible to let the flavors meld. Luckilly, today thats exactly the kind of thing I have time for. So while the fam is out basking in the snow, I get to cook and have a few minutes of quiet!?
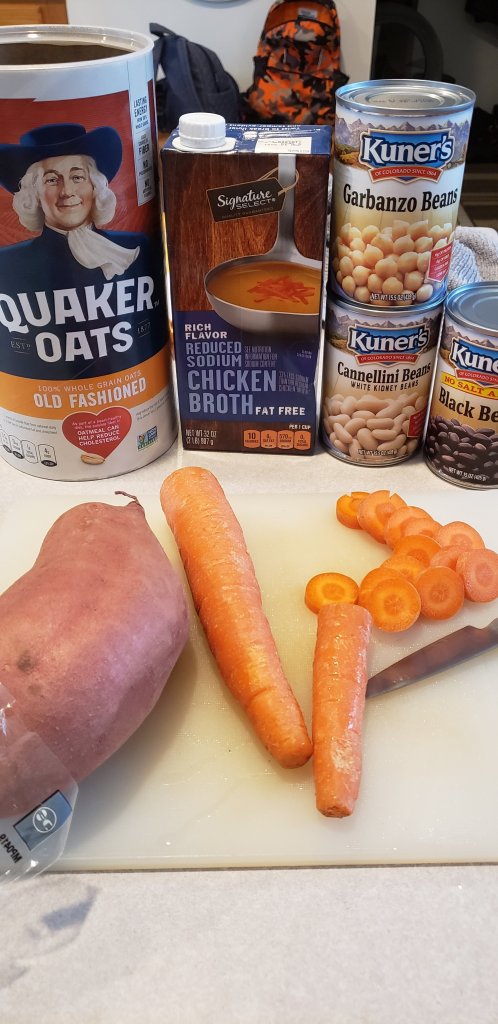
INGREDIENTS:

  • 1 lb ground turkey (beef works here, too but I prefer the leanness and flavor of turkey)
  • 2 cans beans (I almost always include kidney beans, and the other is whatever I have in the pantry)
  • 1 small can tomato sauce
  • 1 can corn
  • Chili spices (I have been using the brand in the photo because that’s what I have on hand, but there are lots of DIY recipes out there if you prefer)
  • 2 tbs. Olive oil
  • Garlic (to taste)
  • 1/2 yellow onion, chopped
  • Optional ingredients- diced tomato, green chili, etc.

{This time around I didnt have any onion in the house, so it was omitted. Theres lots of options with this recipe to gear this towards your families tastes, too. For example if you are a vegitarian group, omit the meat and add in tofu or sweet potato cubes. If you prefer more meat, double the ground turkey and use only 1 can of beans. }

Chili Directions:

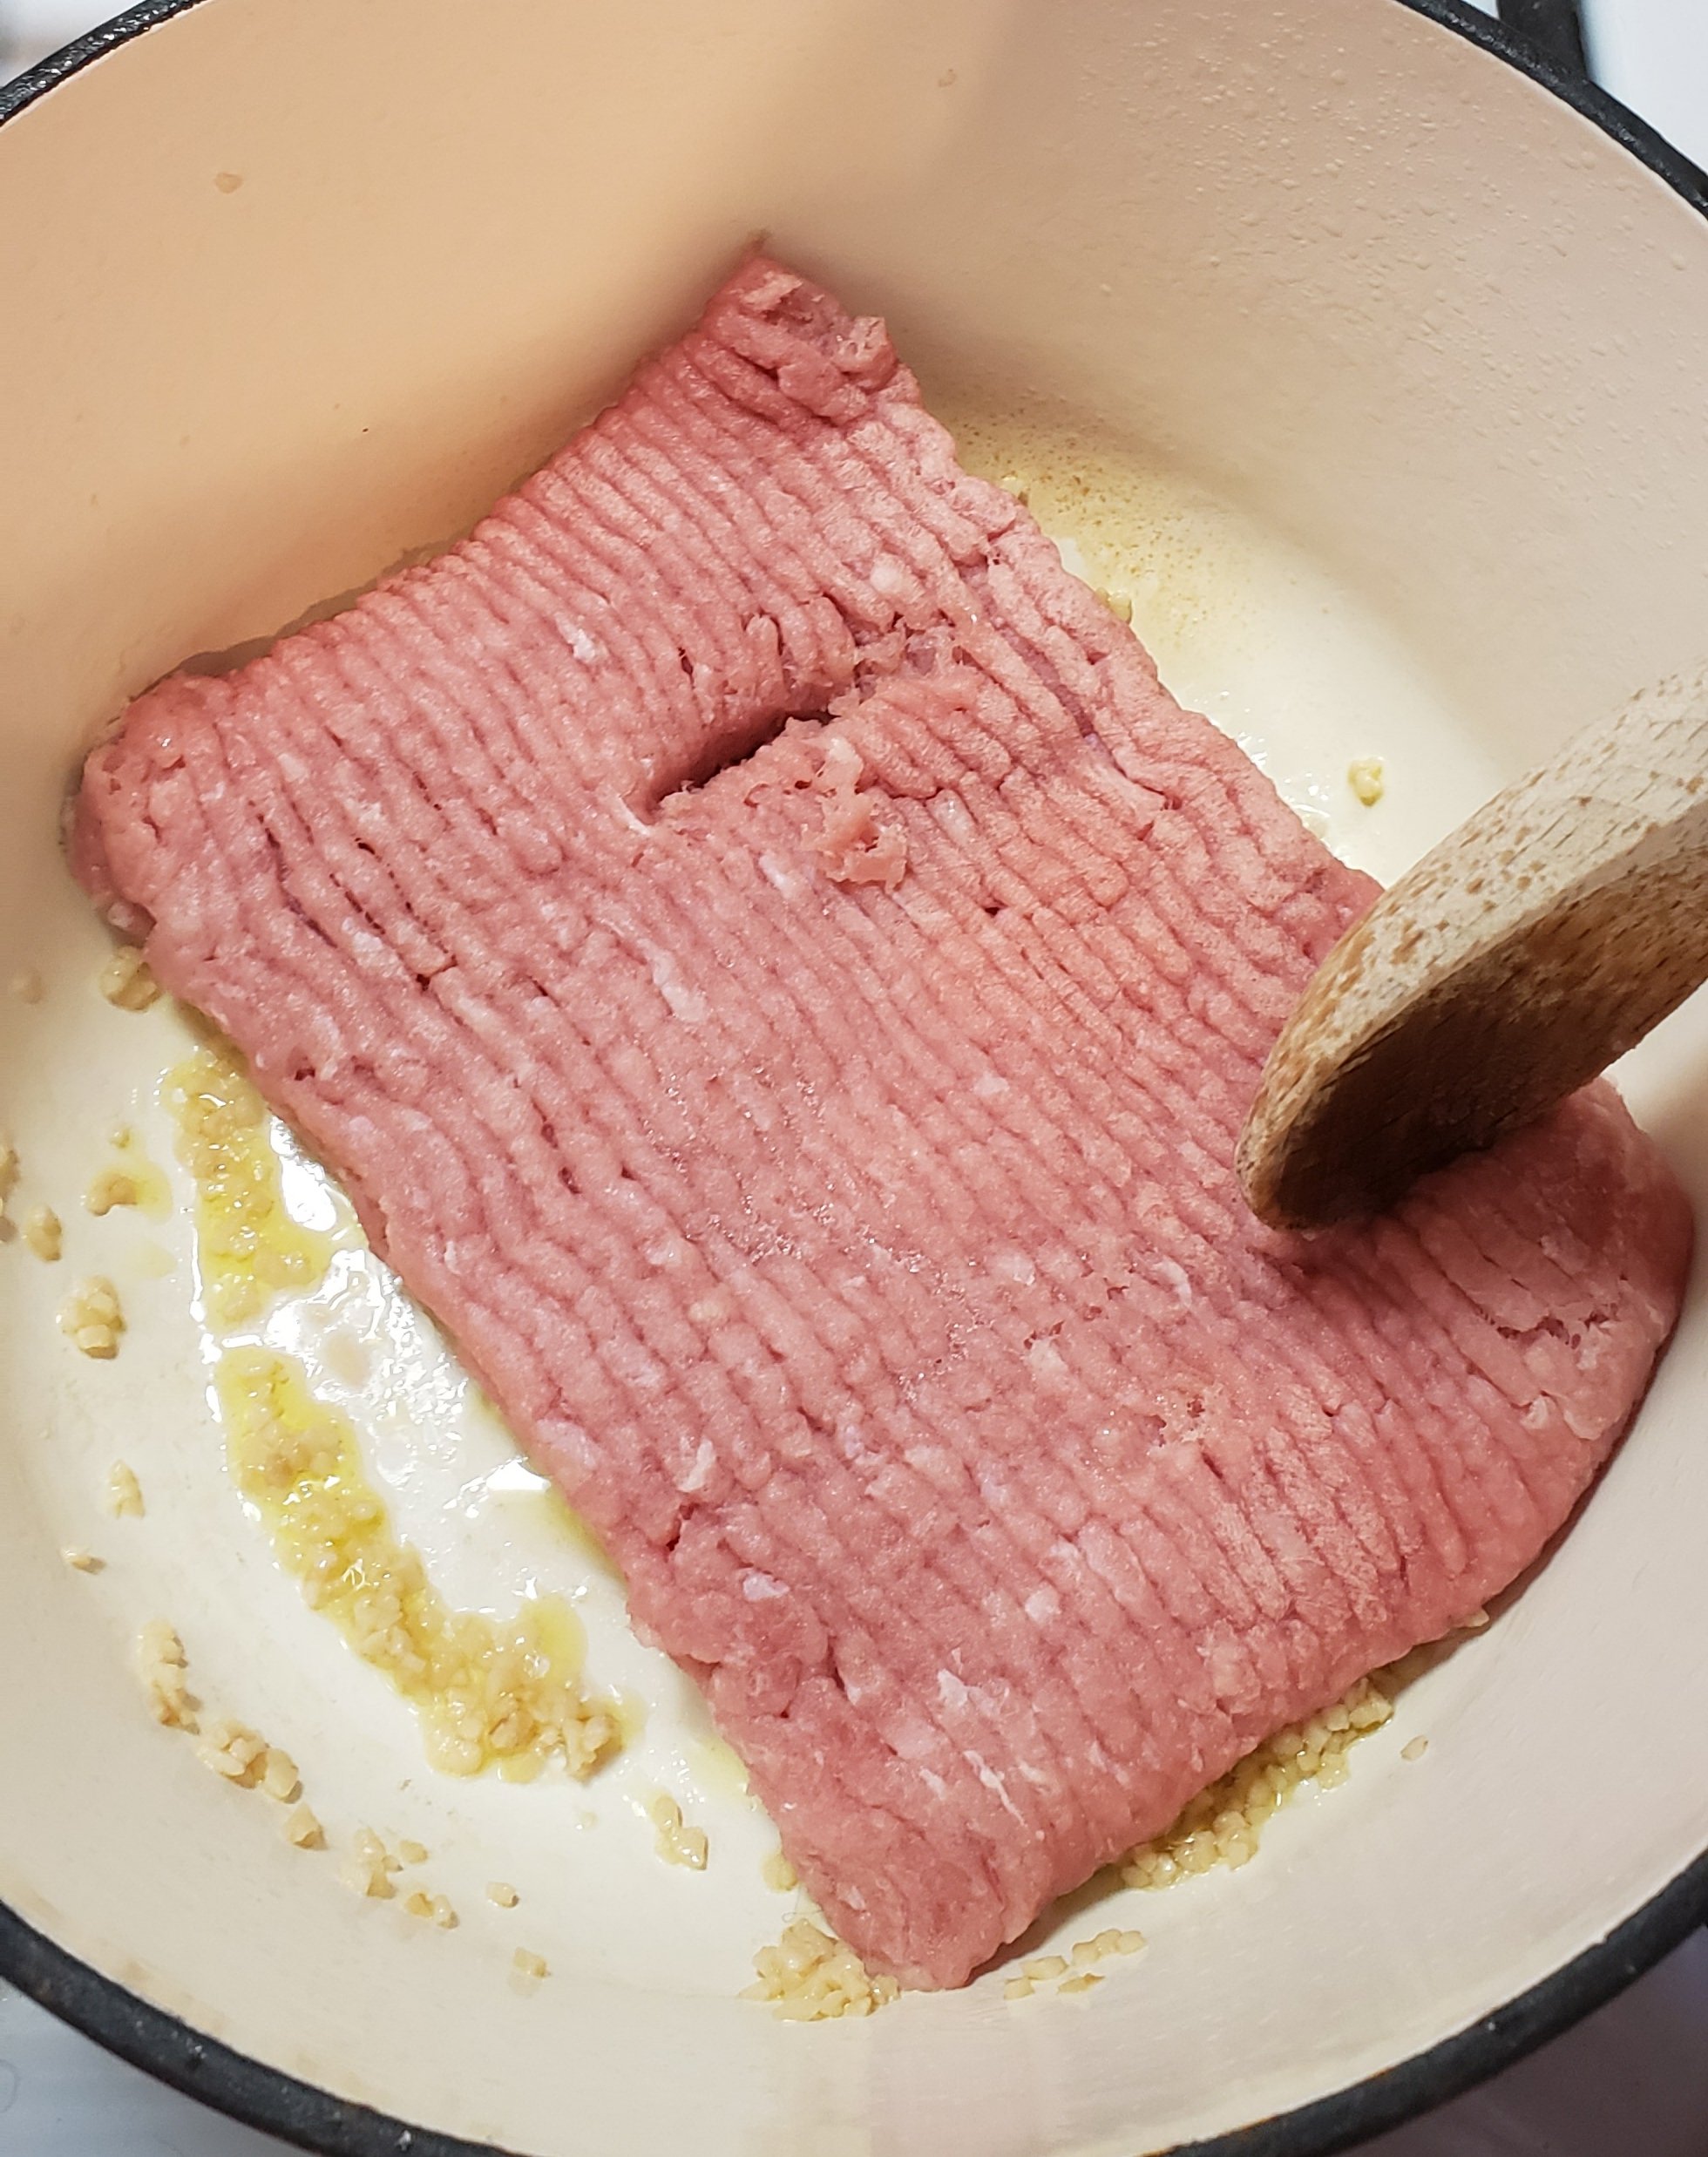
  1. In med/large pot or dutch oven ( I use a medium size 4-5 L unless I’m making a double batch) add 1 tbs of olive oil and 1-2 tbs of chopped garlic. Saute for a few minutes, or until the smell makes you drool.
  2. Add thawed ground meat. Cook until browned. Season with salt and pepper.
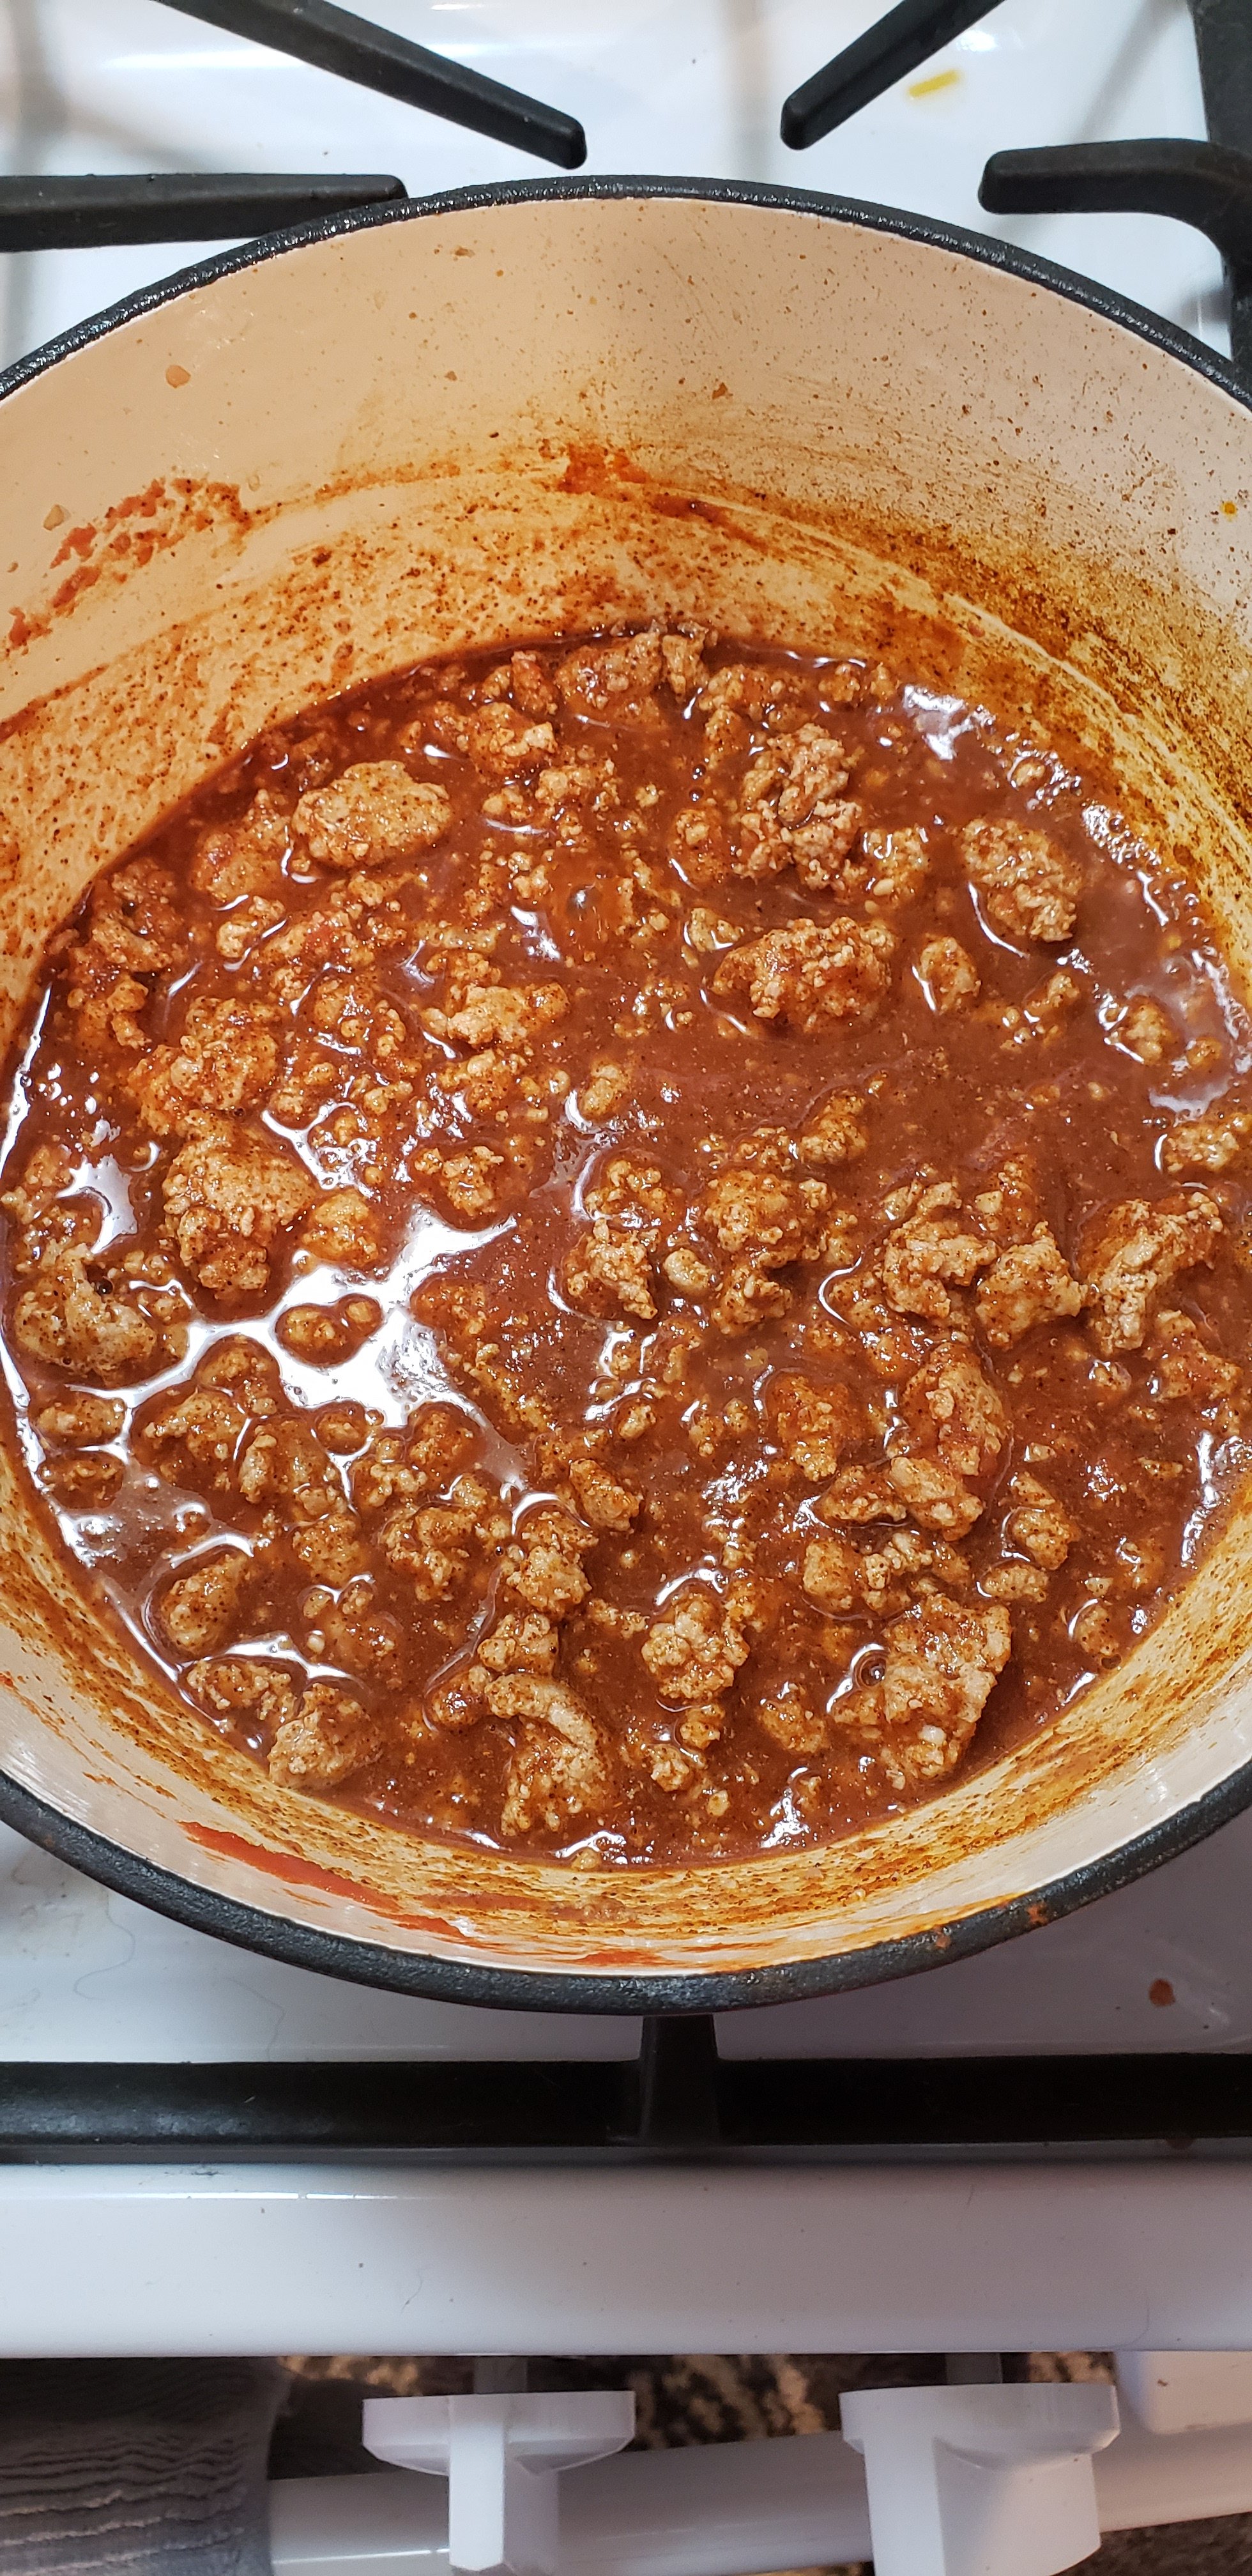
  3. Add tomato sauce.
  4. Mix 2 cups of water with chili seasoning (about 2 tbs per cup of water) and add to pot. (If you need dinner to be ready sooner, add less water. If you intend to simmer the chili for 30-60 min, the excess water will cook out.)
  5. Drain corn and beans. (I use this handy dandy Pampered Chef can strainer….its a fav of mine.) Add to pot. Salt and pepper to taste.
  6. Stir everything together and cover. Turn heat to low. Simmer until ready to serve.

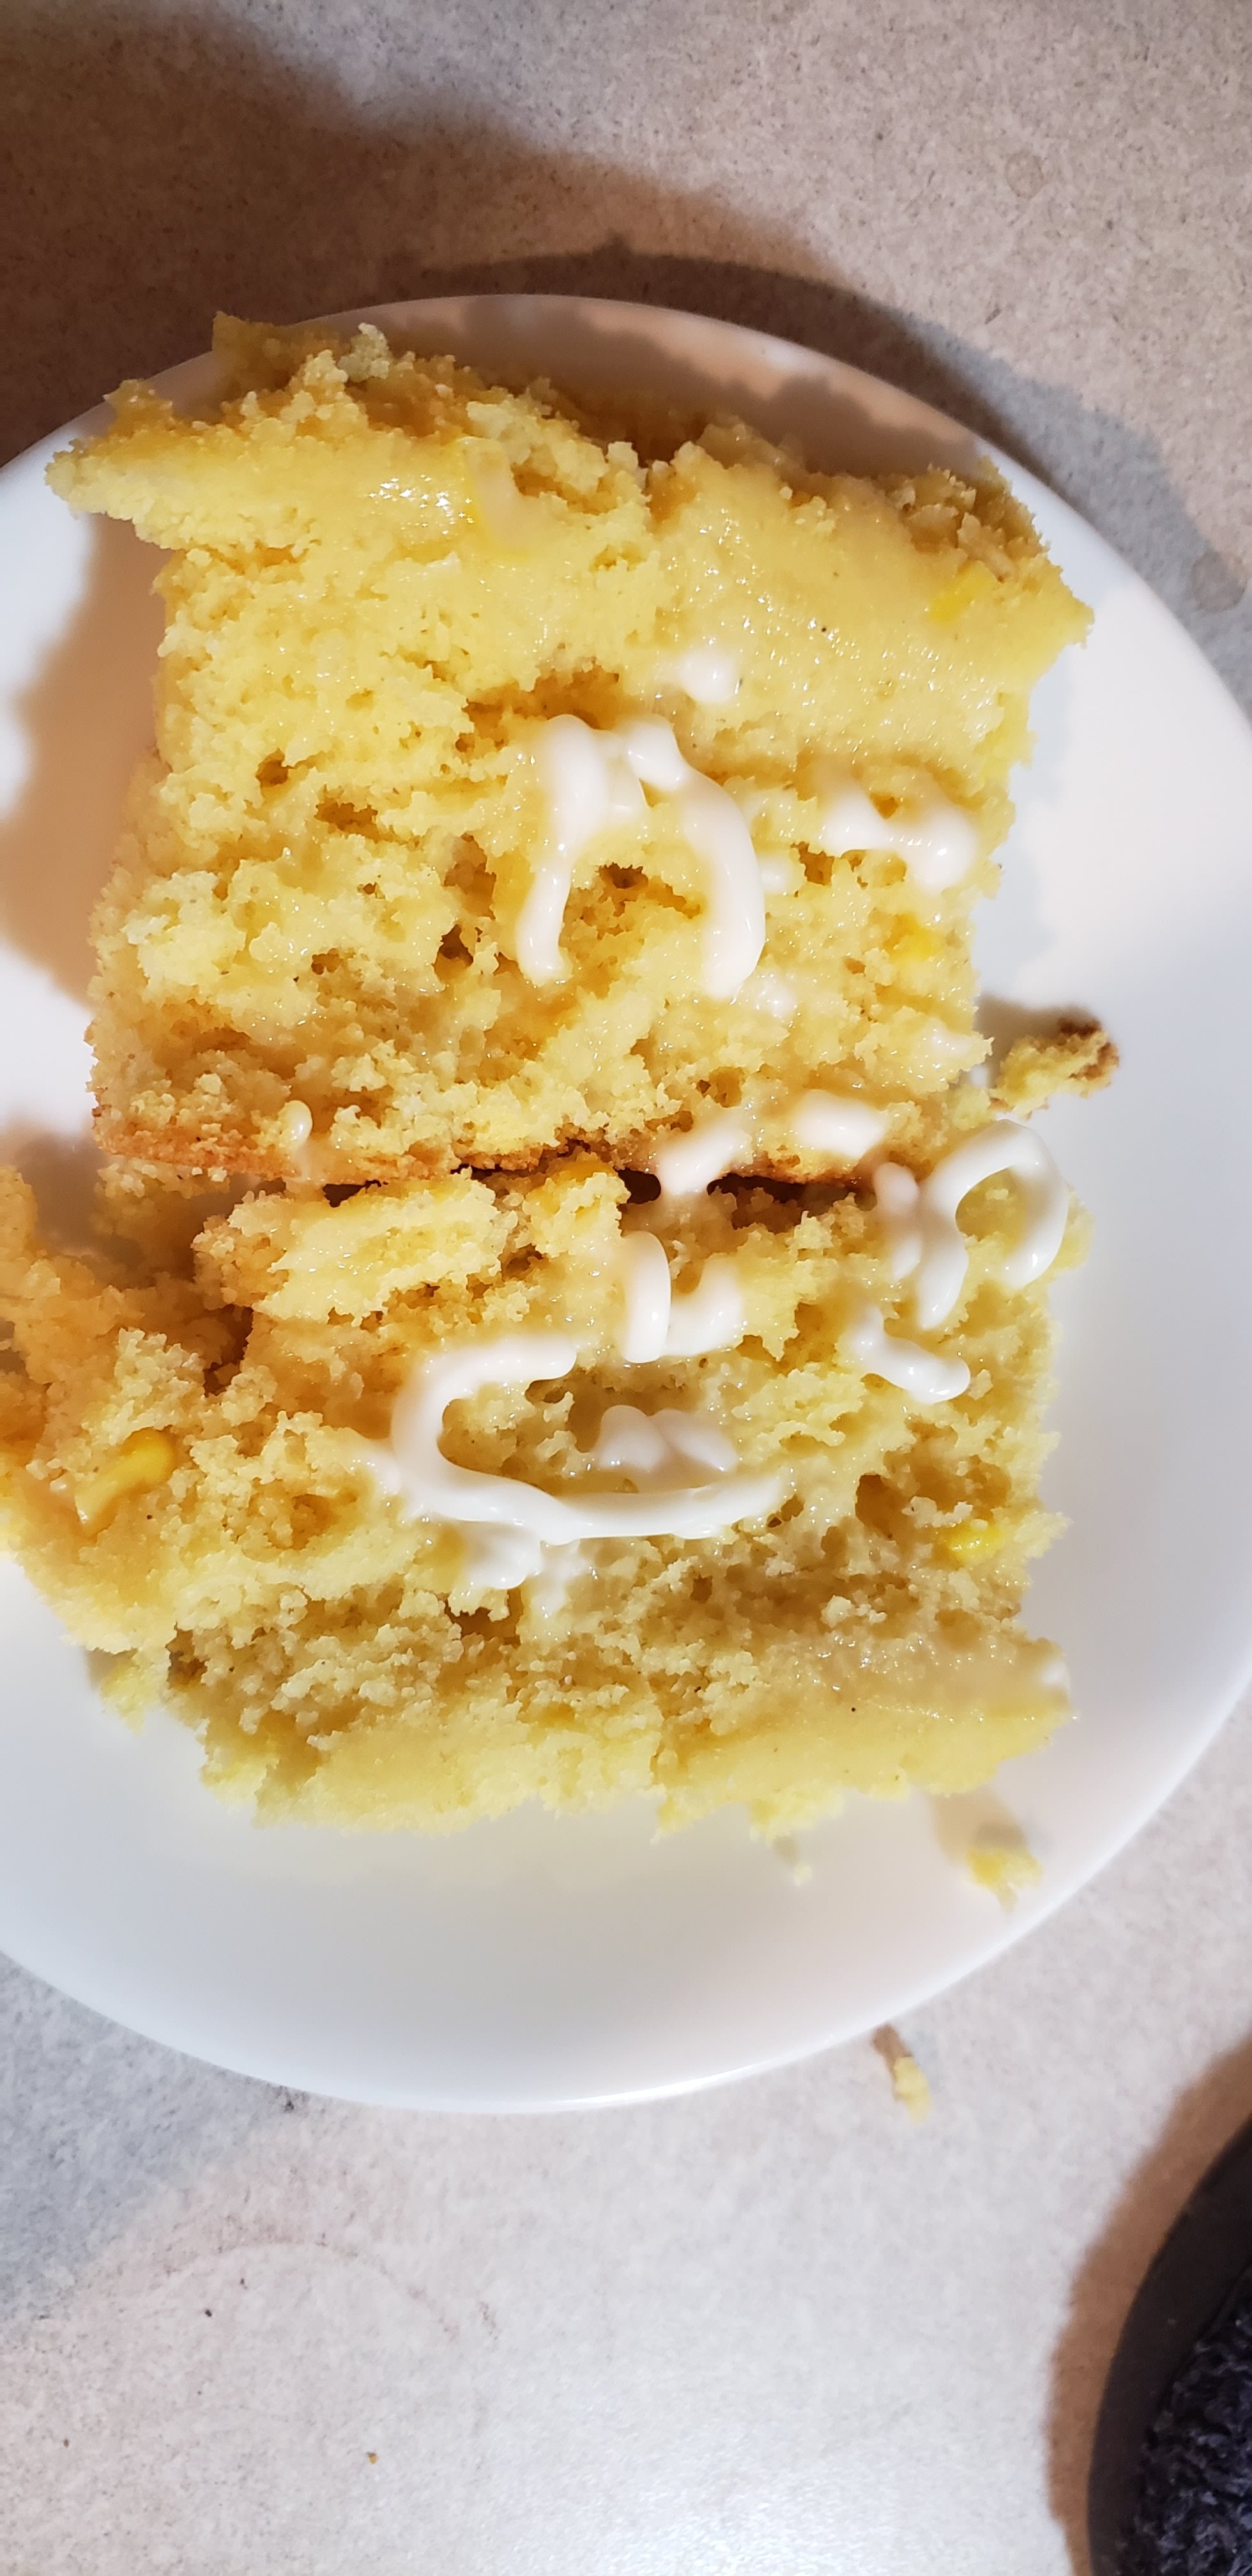
Hand in hand with Chili, a favorite of mine is Marie Calendar Corn Bread. I remember my mom always having this stuff in the pantry. Its soo easy to whip up, you only need to add water to the mix, and 30 min later you have fresh, fluffy corn bread. Load up a slice with butter and a mouthful of chili…ahhh heaven!

CORNBREAD:

  1. Prepare per instructions on the packaging.

This time I decided to try out the “double corn” recipe. I used 1/2 of the can of corn from the chili and added it to mix before pouring into the baking dish. Im not sure how the fam will reaact…ive got a few picky eaters in the house (ahem…hubbs) so I may end up responsible for the entire tray myself 😁🤣

Garnish your Chili with shredded cheese and a dollop of sour cream, add fresh onion or green onions, or all of the above. Perfect chilly- weather, warm-belly meal that the entire family will eat. Win!

Advertisement

Home-made pet food made easy!

Have you heard wind of the newest pet food fad? Home-made, vegan, vegetarian, or raw food diets are all the rage these days…but for your PETS?! Who knew!

About 18 months ago I was introduced to the idea of home-made food for a few of our pets. Our Vet, who focuses on Holistic treatments whenever possible, has a formula for vegan (or mostly vegan) based pet food, with as few as 3 ingredients. Most of which you probably already have in your pantry or fridge.

Our 7 year old lab-mix was diagnosed with Lymphoma in January of 2019, giving us a big push into making home-made food for her to help keep her feeling her best while we treated her holistically alongside our Vet. Since we were going to be making food for her, we also supplemented our other pup (Mo) with the same diet to help keep his weight under control (more on that later).

Below is an example of a super easy recipe that we have used. This recipe follows the proportion formula our Vet recommends (and uses herself,too). You can find her Blog post on this formula here for more information and background. Here’s another post about Vegan Dog food, there’s some great additional info here as well! Of course, always talk with a Vet before changing your pets diet.

Easy peasy Home-Made Pet Food

Ingredients:

  • 4 cups (1 box) chicken or vegetable stock
  • 2 cups dry old fashiond oats
  • 3 cans beans
  • 1 large sweet potato, peeled and chopped
  • 2 large carrots, sliced

Cooking Directions:

  1. Pour stock into large pot, add chopped veggies. Cover and bring to a boil.
  2. Add 2 cups dry oats to the pot and stir. Simmer for 5 minutes, stirring occasionally.
  3. Drain & rinse beans. Add to pot.
  4. Mix all ingredients together, store in air tight containers in the refrigerator for up to a week.

Total prep + cook time was about 20 minutes. And you don’t have to baby-sit it the entire time, so it’s easy to do while you’re throwing in a load of laundry, or prepping dinner for the family.

FUNNY FACT – When I made the first batch of this food, my Hubbs and both kiddos thought it looked delicious and ended up eating about 1/4 of the mix before I could get it packaged up and in the fridge for the dogs! Pretty silly, and entertaining when I told them it was actually DOG food they were raving about. They asked me to make that mix for us sometime for diner HAHA!

If you plan to feed your pet only home-made foods, consult with your Vet as you may need to add a supplement for additional minerals/vitamins etc. Since we use home-made as an addition to commercial food, we know our pets are getting all the nutrition they need. You don’t need much commercial food to get the needed value out of it, so we do a 50/50 ratio of home made/commercial food for our pets currently. When/if any of them are needing additional health support, we up that to 80 home-made/20 commercial.

Best part about this home-made formula is that it’s very wallet friendly. A box of chicken or veggie stock is under $2.00, cans of beans are under $1 each (I usually buy whichever is on sale – The Kruners we used were $0.88 each), many of us already have quick oats on hand in our pantry, and you can use any veggies you have in the fridge or freezer. Each batch of this costs me around $5. When I looked into The Farmer’s Dog – who delivers “farm fresh” meals for your pup to your door – it was going to cost an average of $40 a week for 1 meal a day for just 1 dog.

We also started both our cats on a home-made diet similar in ingredients to the one above, but I’ll do a separate post on that next time I have to whip up a batch of food for them! Until then, Happy cooking!

How being a SAHP is just like any other Job

If you think that being a Stay At Home Parent isn’t like a 9-5 job, lets compare, shall we?

Coworkers:  In this case, your kids.  The people you spend 8+ hours a day with, in most cases you see them more than anyone else you know. With just as much drama and gossip.

Brown-Nosing: Whether you are wiping ass or kissing ass, it’s probably your least favorite part of the day.

Project Management: The never-ending cycle of fixing, re-doing, or re-starting every project your aforementioned coworkers screw up. While managing said project load with an ever-changing priority list.

Lunchtime: An excuse to drink a beer in the middle of the day. (kidding…mostly) Or maybe coffee is more your thing….

Time off:  The SAH equivalent is nap time. Which always flies by like you’re in a time warp. Sick days don’t exist when you don’t work a 9-5, but the trade off is nap time 1-2 times a day.

Water cooler banter: The SAH translation = playdates.  This is where all the latest drama or news is exchanged with any individual who’s over the age of 18. Small talk is BIG when you’ve been dealing with toddlers (or annoying coworkers) all day.

Drama: If you think the office crazy person is a drama queen, try spending an entire day home alone with a toddler.

Quitting time:  The last hour of the day before your sig-other get’s home slows down to turtle speed and seems to last FOREVER.

Mediation: Only in this case, you are the mediator and the 2nd party.  No middle man to help calmly solve the problem, so you usually end up giving in and your LO gets whatever toy or treat they threw a fit over to begin with.  Sometimes it’s just not worth the fight.

Overtime:  Being a SAHP means you don’t get to leave work or stop working after an 8 hour day.  Only you don’t get paid time-and-a-half.

Having a social child

My parents tell stories about me as a child.  Hiding under the chairs at social gatherings or church.  Clinging to their legs in the company of strangers, or even people I’d met but didn’t see on a daily basis.  My stranger-danger was always on high alert.  And being the older sister, I made sure to protect my little bro by keeping him hiding out right along side me.  It wasn’t until I was in high school and part of the Speech Team (kind of like a  competitive theatre team) that I started to come out of my shy-shell.  I just wasn’t created as a social butterfly.

We had friends of the family who’s kids were younger than me and far more outgoing.  Always talking to everyone and anyone.  Always the center of attention.  I never understood how they were that way, and just assumed it was because of their parents being social butterflies and passing that along to them.

Then J came along.  He’s almost 3 now (OMG) and he is the quintessential social butterfly.  Everywhere we go, he’s making conversation with random people.  He’ll ask strangers at the store what something is.  He wants to tell anyone in earshot about his favorite toy.  The clients that come into my office hear all about his adventures, or his small water bottles that Pop-pop bought just for him.  He’s a talker.  A sharer.  A little spit-fire.

I have no idea where he gets it from.  Me and the Hubs are not particularly outgoing – at least not to that degree.  J’s stranger-danger seems to be dangerously low at times though.

I love that he’s so trusting in a lot of ways.  His trust makes him outgoing and adventurous.  He has no boundaries for trying new things, meeting new people, sharing his story with the world.  His ability to easily and effortlessly put himself out there will help him all his life.

I try and keep all that in mind on the days where my parental worries kick in.  When I get anxious that all his trust will put him in a dangerous situation.  It’s an internal struggle.

C isn’t old enough to see her whole personality yet.  She loves to flirt with anyone that smiles at her, but she’s only now walking and is still fully focused on people she knows.  Guess we will see!

Hello small boobs: The end of my Nursing story

I nursed J until he was 14 months. I was also 5 months pregnant at the time.  (which is another story all together).  With him, I was ready to be done, and so was he.  It was uncomfortable, and just plain annoying when he would “nurse”.  There wasn’t really any benefit either of us were getting out of it at the end.  And when he slept through the night the first night I stopped nursing him, it was like divine intervention.  It was time, and probably had been for a while.

When C was born, I realized that nursing is hard even the second time around.  I didn’t have issues with my production, but a newborn is still a newborn.  They have to learn how to nurse, just like your boobs have to adjust to having a little one attached to them almost 24/7 for a while.  It’s an adjustment all around.  Even when you know how it’s supposed to work, it doesn’t make it any easier for the first few weeks.  It still hurt like hell for the first 2 weeks.

I planned on nursing C until, well I didn’t really have a length of time.  I figured it would be similar to what happen with J and that the right time would be obvious.  Turns out, it was only obvious to her!  The day after her 1st birthday, C came down with a cold.  The night she refused to nurse.  The next morning she also refused.  And at naptime, it was a no-go.  I figured it had something to do with her feeling not so great.  In the meantime I had to break out my pump.  While she wasn’t nursing a ton, she was nursing enough that my boob’s went back to feeling like they were going to explode by the morning time.  Did I mention I hate pumping?  I thought I was done with that!

After 48 hours of no nursing, I was really starting to doubt that C was ever going to go back to nursing.  I kept up the pumping 1-2 times a day though, just in case.  One morning I got her to suck down 3 oz of pumped milk from a bottle…but that must have been a total fluke.  That was the last time she ever drank the magic milk.

The next day, I got a nasty virus that landed me with a 104 degree temp and in the ER for dehydration.  Turns out C being ready to stop nursing was right for both of us.  She moved onto drinking regular milk with no hitch, and I was able to take some much needed meds to get over the virus.

The sudden and unexpected, cold-turkey stop to it all left me a little sad though.  I wasn’t ready to stop nursing.  Not in the same was I was with J.  But, in the end, it all worked out.  Just goes to show that no one’s journey with breastfeeding is the same.  Every kiddo is different, and everyone’s struggles with breastfeeding – whether at the beginning, middle, or end – is relevant.

And now?  I’m remembering how little my boobs are when I’m not pregnant or nursing! Ha…